Okay, it’s time to put an end to the 3D image of our protagonist. Almost everything is ready: we have a 3D model, a texture, and even an animation. The final touches are left: shading, rendering, and compositing. We decided to combine the description of these 3 stages in one post, since they are very closely related to each other.
Reference:
A shader is a way of describing surface properties such as reflection, refraction, shading, surface displacement, light absorption or reflection, etc. For example, color, glossiness, transparency, reflectivity, roughness, etc. are all parameters for each object in a scene.
Visualization or rendering is the process of obtaining from a 3D scene of the final image using special algorithms, counting each of the millions of rays of light or photons.
Compositing is the process of image processing in 2D editors, such as Photoshop or Digital Fusion.
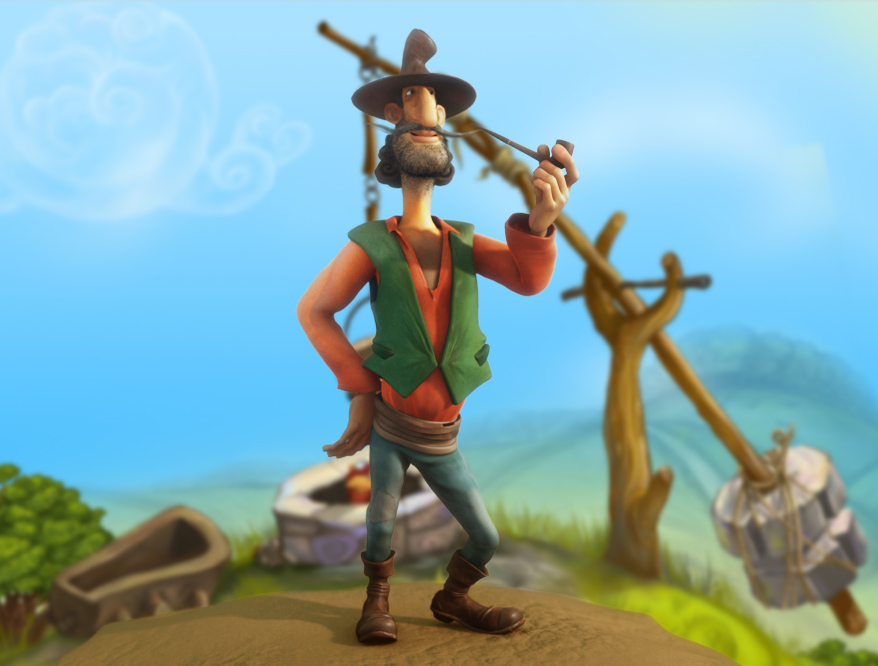
Preparing a scene for rendering begins with setting up light sources in a 3D scene and adjusting their properties. We need to make sure that the light on our character is as realistic as possible. Despite the fact that we are making a cartoon, we should bear in mind the basic laws of physics.
For example, our character is lit on the left, so the shadow should fall from left to right. If he is in a white room, he must be illuminated from different sides and the shadows must accordingly not be completely black, but much lighter and a little blurrier. Lighting is one of the main ways to add depth to an image. It can be used to separate the main and secondary objects in the scene, to emphasize or hide the outlines of the character.
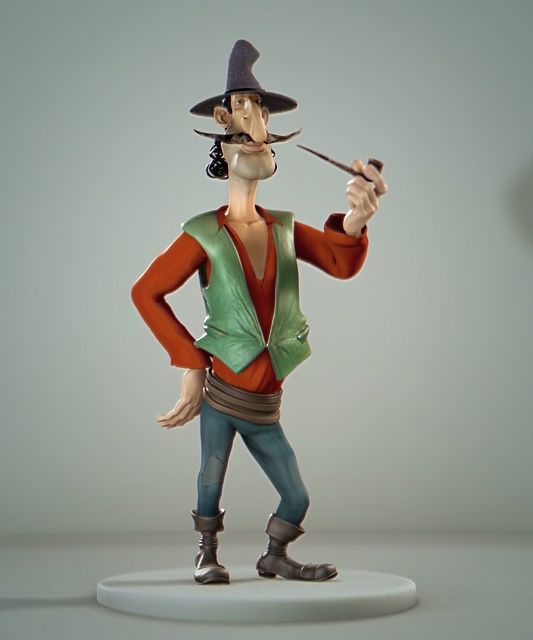
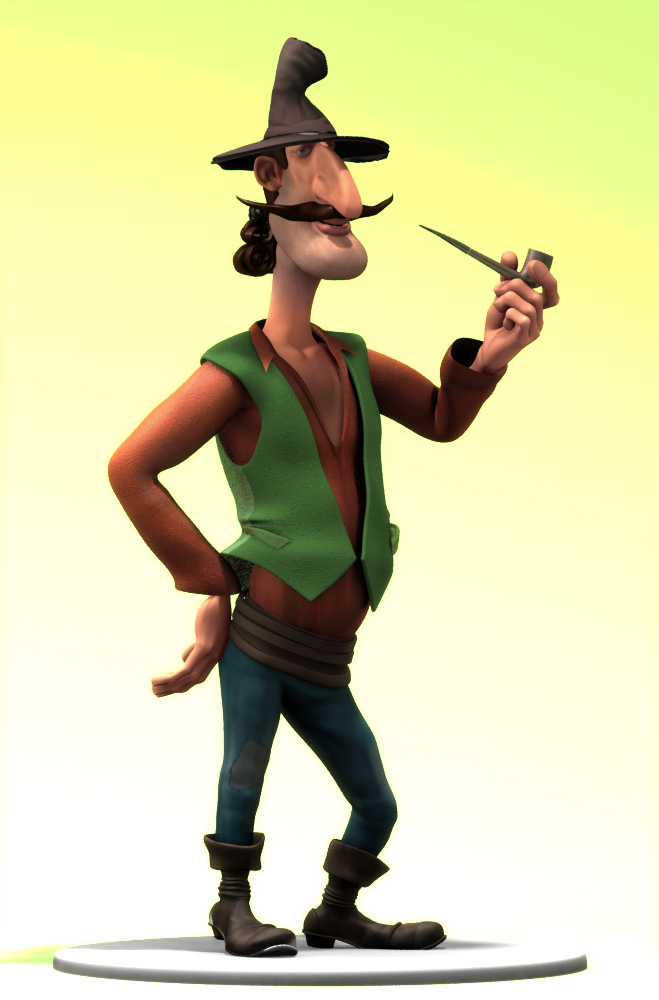
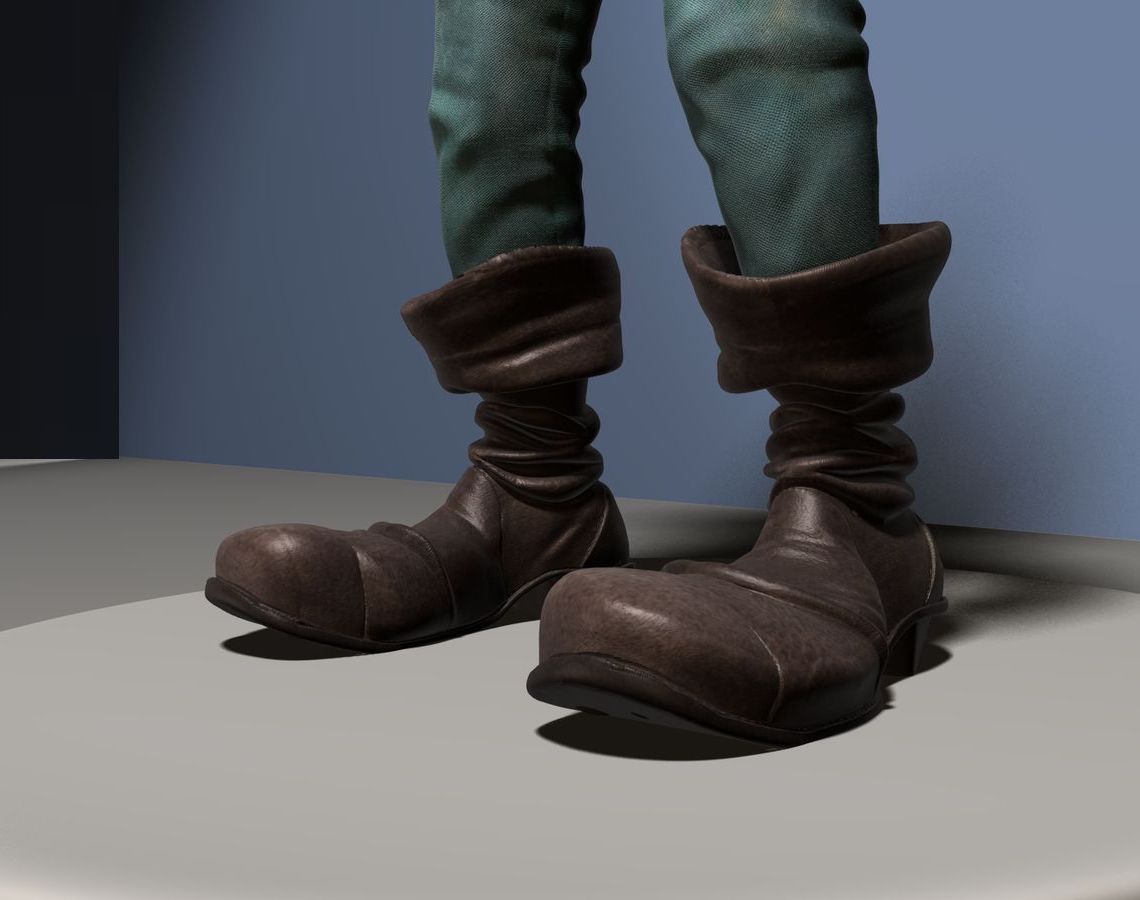
Once the light is set correctly, the shading stage begins. It is very important that the viewer can easily guess what material is used: if the hat or boots are leather, they have to shine, and their texture has to be exactly like leather. But pants made of fabric should not shine at all.
So, the 3D artist, by setting different lighting schemes and selecting the most advantageous and realistic shaders, brings the 3D character to life.
When working on Gojo, we had the opportunity to experiment with lighting and the texture of the skin and clothing. As a result, the hat turned from fedora to leather, and the shirt almost became silk.
Having handled the rendering, we move on to the final stage: working with the finished image – compositing. At this stage, compositing consists of combining the layers resulting from rendering.
After rendering, out of the 3D package comes not only the final image, but also a set of pictures that make it up. The result is something similar to an application: shadows, highlights, shadows, diffused and reflected light, etc., are separately rendered.
With these constituents, the so-called passes, the artist can adjust the saturation and brightness of the highlights, the color and depth of light scattering as he needs, without wasting time on additional recalculation of the image from the 3D package. But we’ll talk about this step separately.
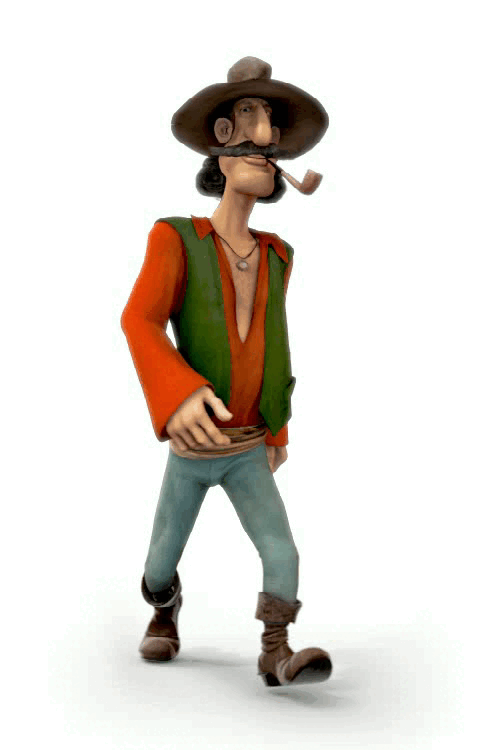
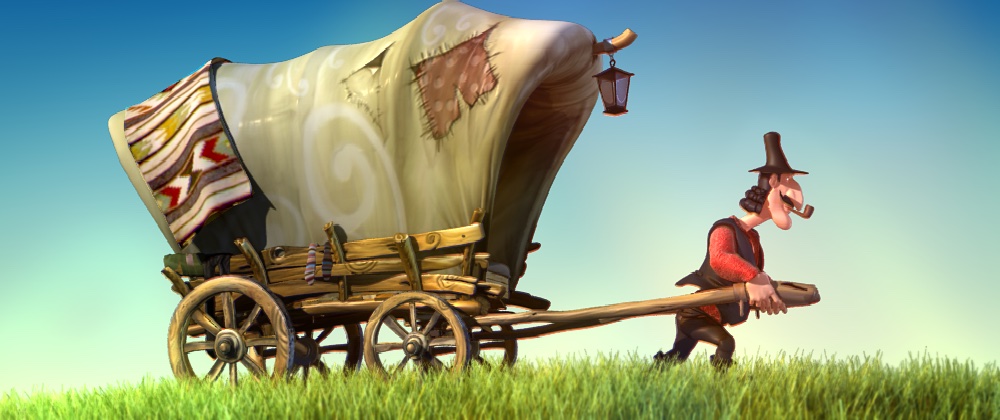
And finally, after all the steps from plasticine to animation and rendering, we see the final gipsy – insolent, arrogant, walking out to meet the adventure!